


Registration Device
I hope you enjoy using this device
You can watch a demonstration of both multi-block and reduction printing using this device on my YouTube channel. Alternatively you can reach these videos along with more printing help and advice through the ‘Videos’ above.
The lino can be attached to the MDF insert using carpet tile adhesive, or strong double sided tape, like carpet tape. The insert can be reused several times without compromising the secure attachment between insert and lino if you follow these steps. Cover one side only of your insert with plastic parcel tape, laying strips of the tape side by side to make a complete layer. Trim so no tape overlaps the sides of the insert. Stick your lino to the tape with carpet tile adhesive (this is designed to secure textile and plastic surfaces). After printing peel off the tape and lino (this may take a bit of effort). Once both are removed, the insert is ready to be recovered in tape for next time. This works for both hand and press use.
The MDF insert can be replaced with strong cardboard or card as an alternative if you wish. However, the insert needs to be thick enough to raise the lino to the height of the frame around it so that the lino is proud of the base frame (as it is when using the MDF insert). The lino can be attached to the insert using carpet tile adhesive if you want a permanent bond, or strong double sided tape if you are hand printing and wish to re-use the insert.
Happy PrintingTo mark up your paper for accurate registration
Instructions for adapting your device to accommodate paper that is too small to fit on your registration device’s frame.
You will need a ruler, pencil, pen, masking tape, clear sticky tape, scissors or a craft knife and a piece of card bigger than the hole in the centre of the device (card from a cereal packet would work well or any thin cardboard. Nothing thicker than the frame of the device). Click here for a printable version.
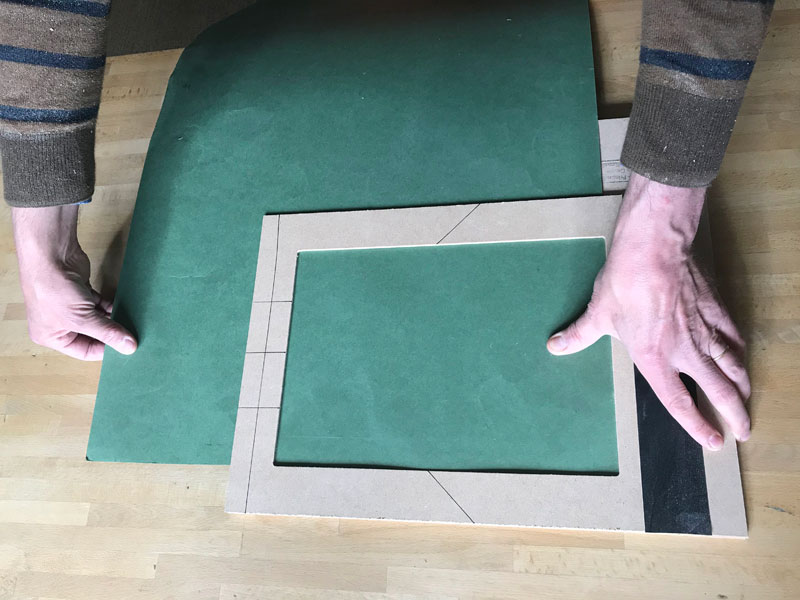
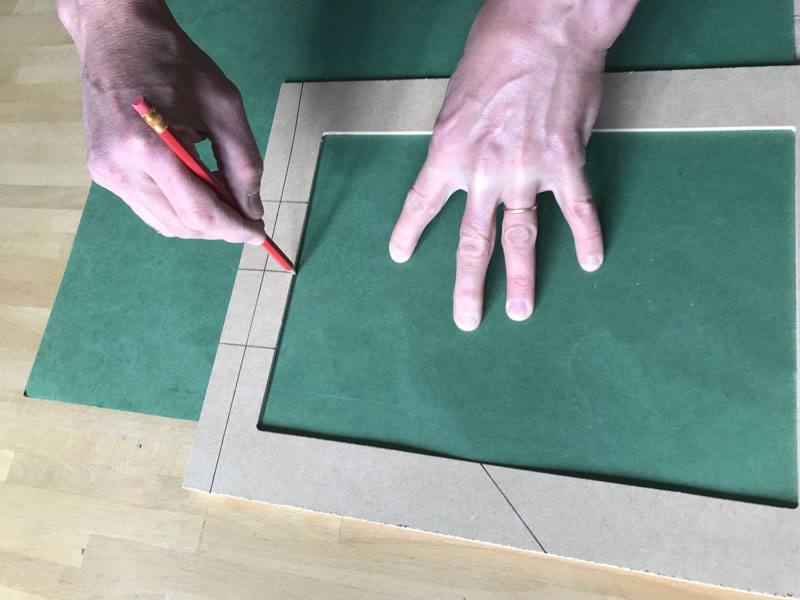
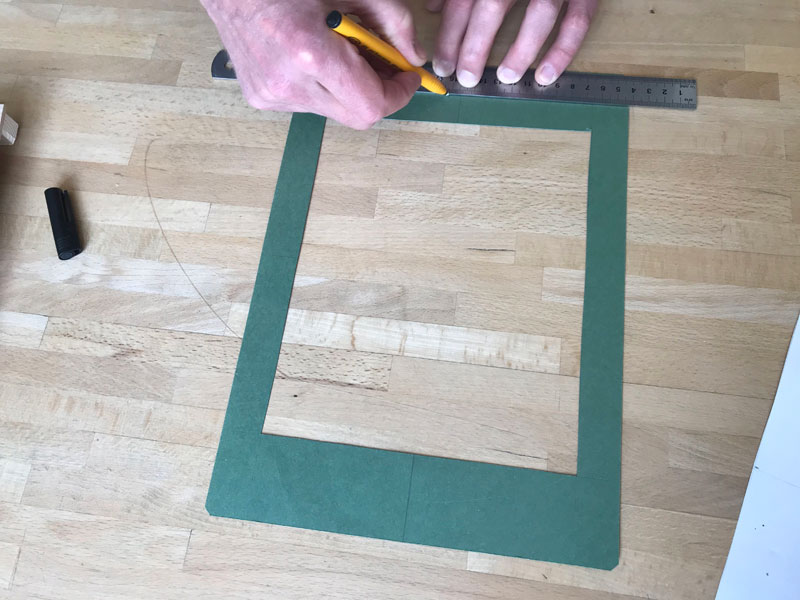
1. Slide your piece of card between the top frame and the base and draw around the inside edges of the frame.
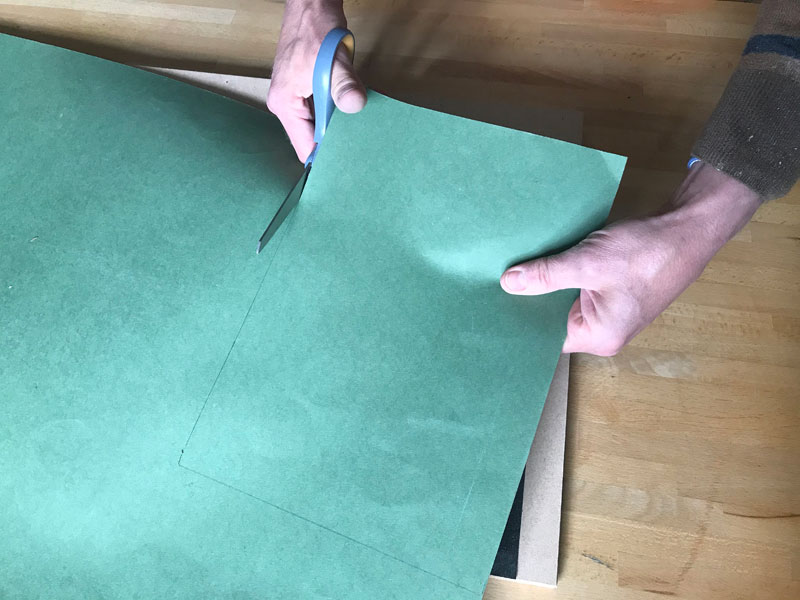
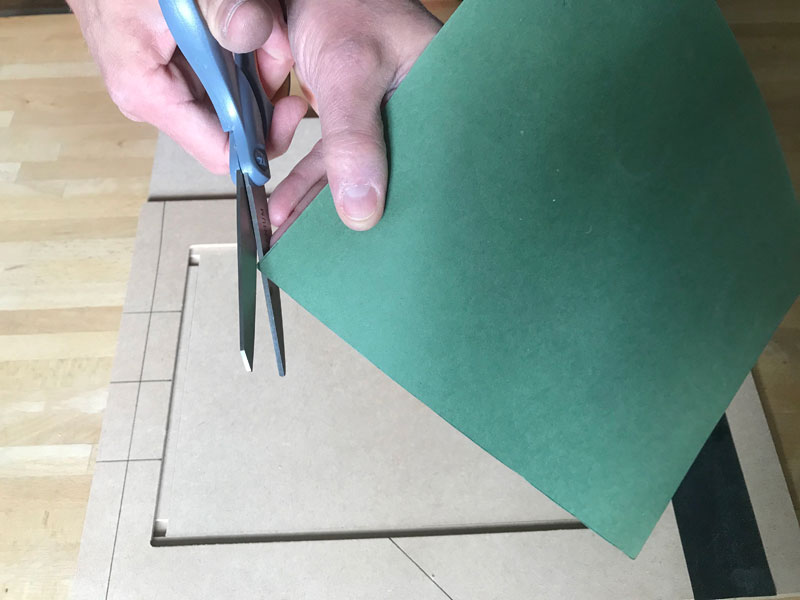
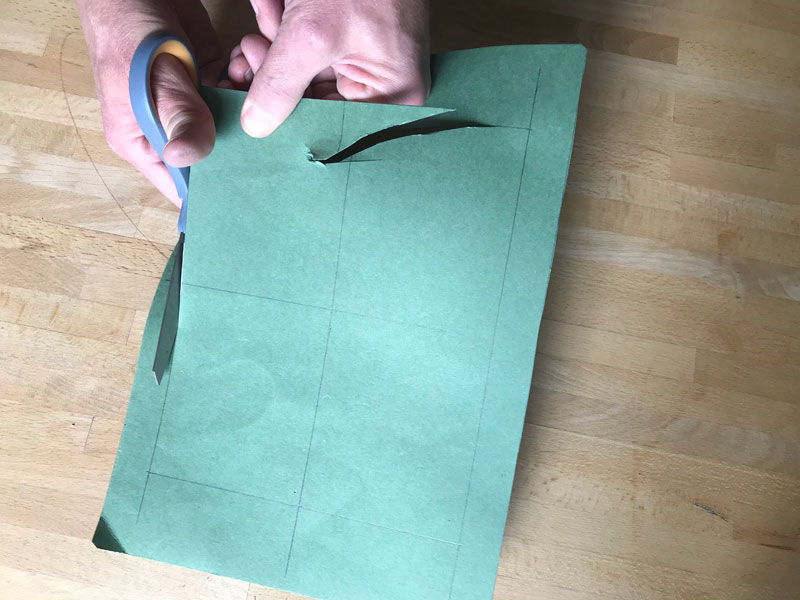
2. Cut along your lines so you have a piece of card that fits into the frame on your device. Clipping off the corners will help it fit into the frame.
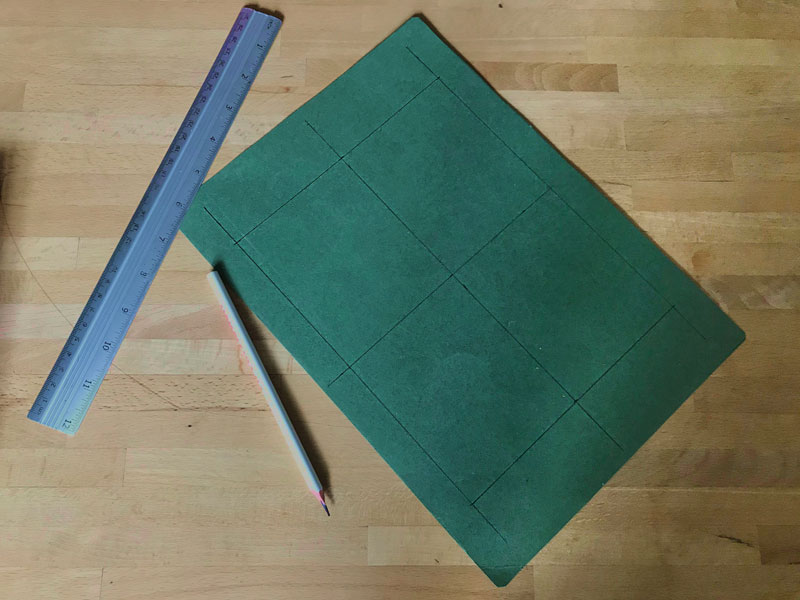
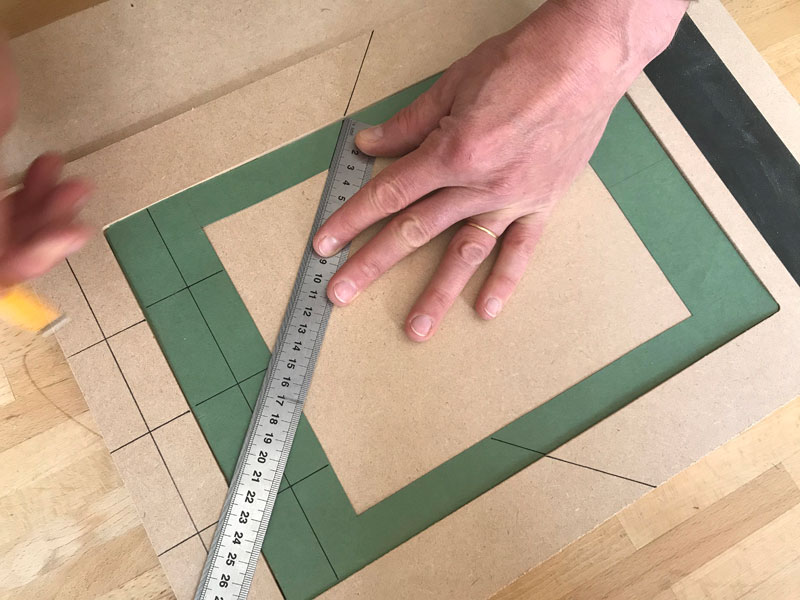
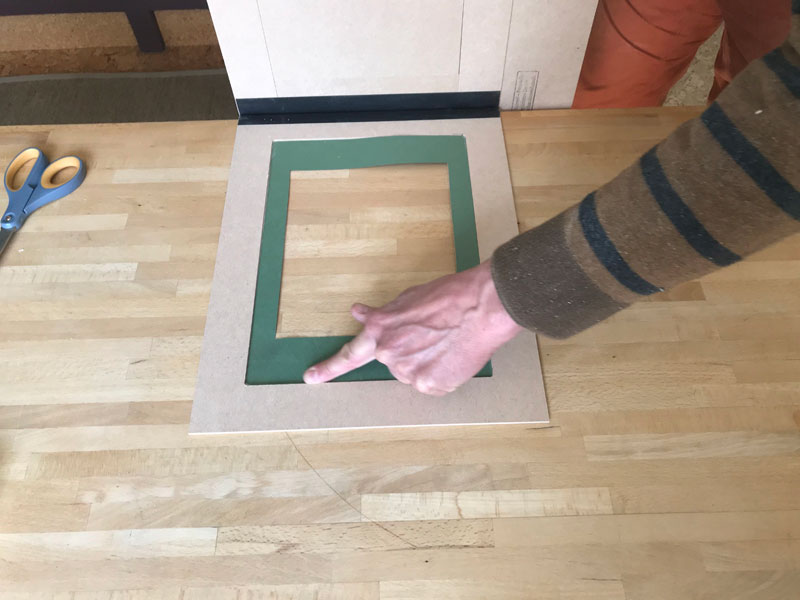
3. Decide how large the hole in the centre of the card needs to be. The hole should be the size of your lino block plus about 5mm ‘breathing space’ around it to allow you to rub the back of the paper right up to the edges of the lino when printing.
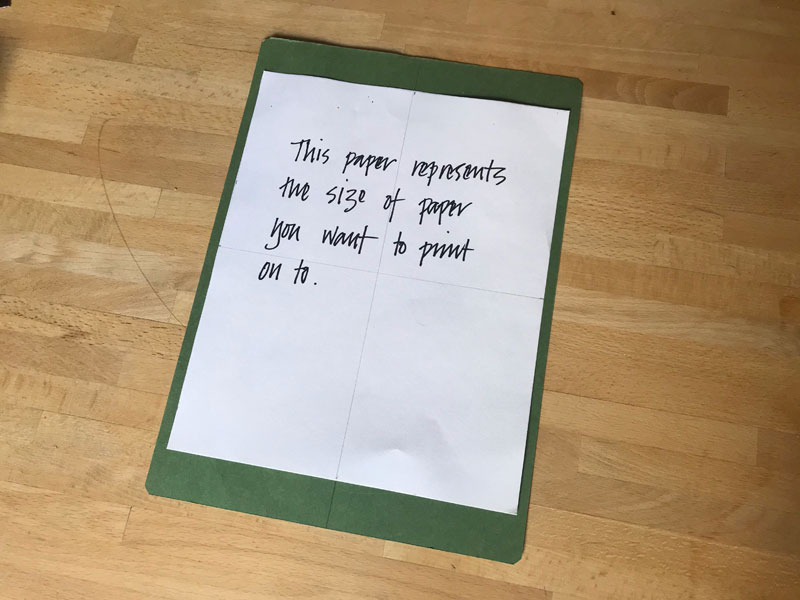
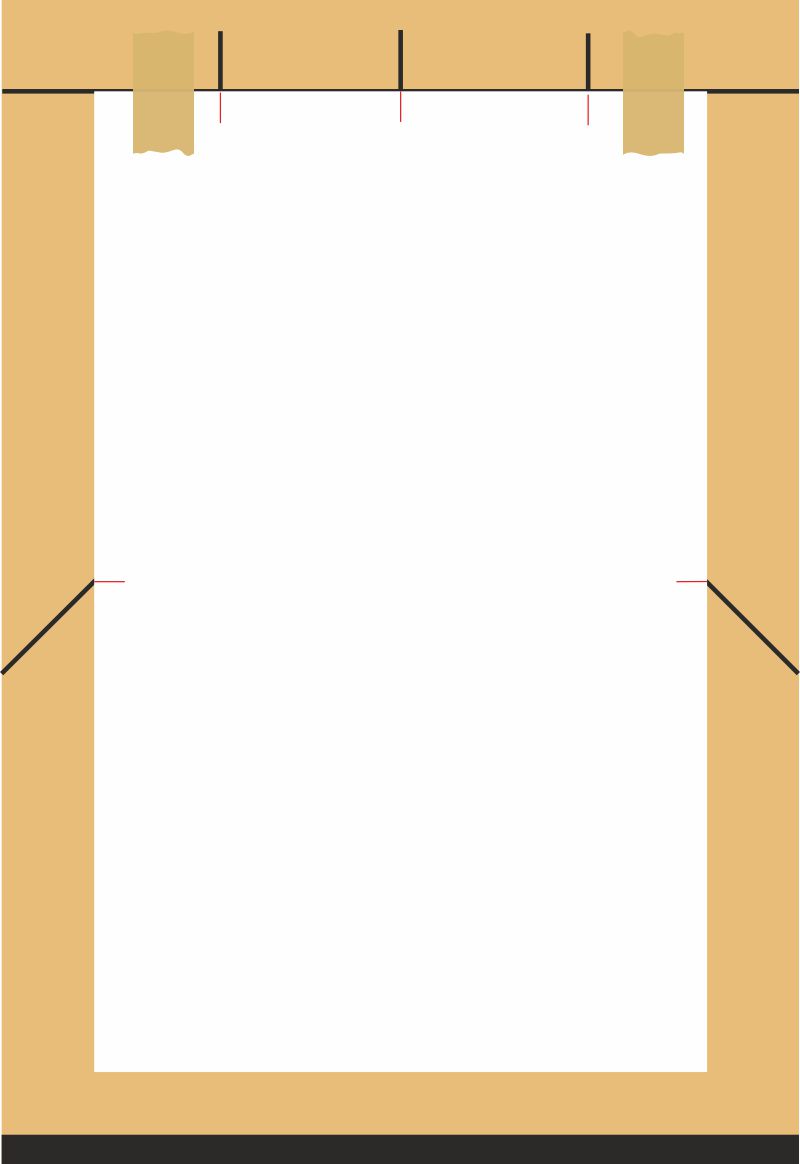
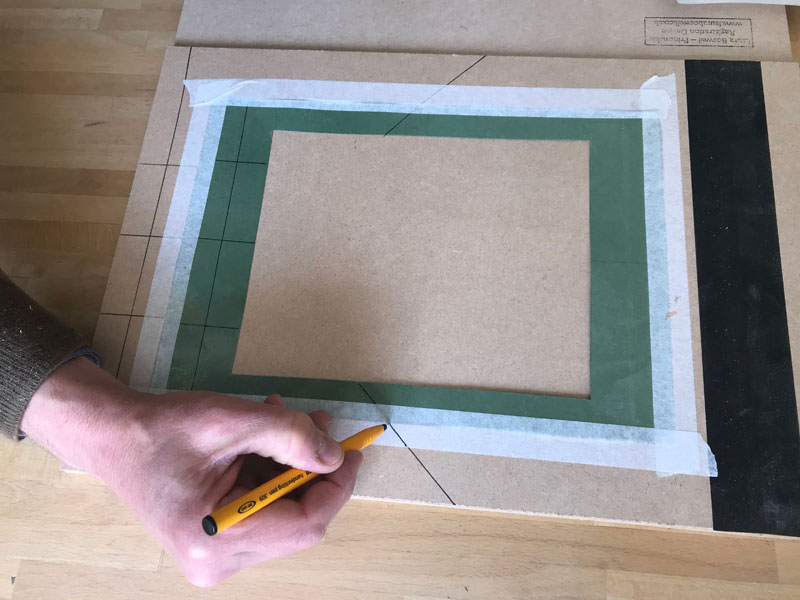
4. Using a piece of scrap paper the size of your printing paper, draw two lines bisecting the card across the centre. Line the paper up with the matching lines on your card. Use the paper as a guide to rule a line across one of the short ends of your card. Doing this will help you to keep your lino print squared up with the edges your printing paper.
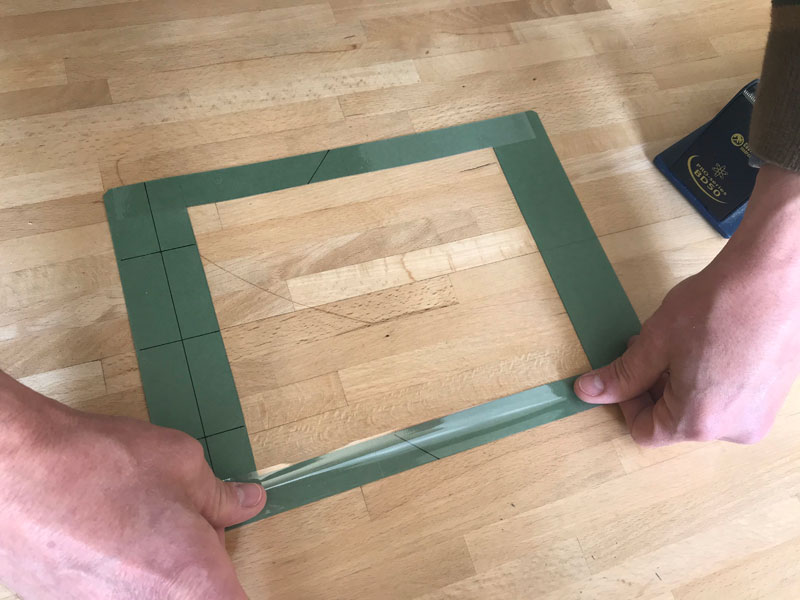
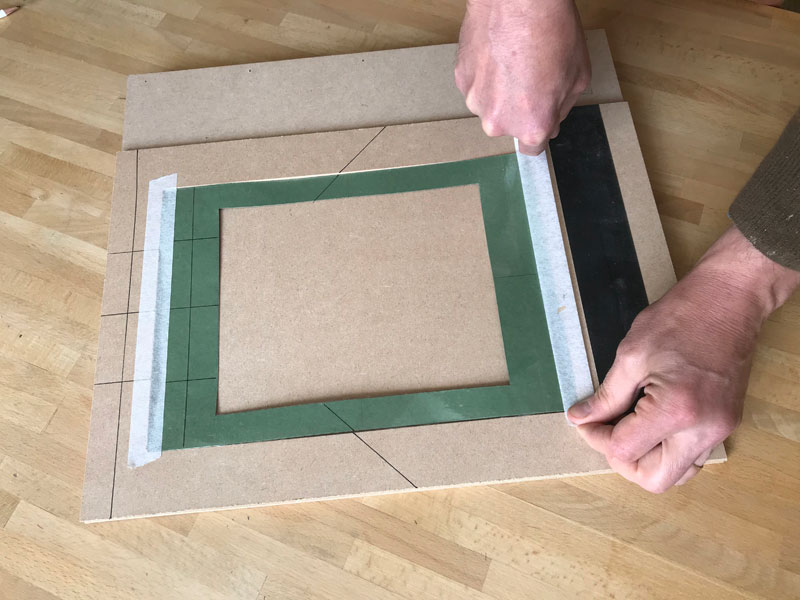
6. Covering the card in a layer of sticky tape will make it more robust and stop the masking tape from tearing it. Use masking tape to fix it into the frame for easy removal.
7. Rub down the card’s edges from the inside of the frame to push the card fully into place. You may need to re-draw your registration lines over the masking tape to make them clear.
8. The device is now ready to use exactly as before, but now it will accommodate the smaller sized paper.
Using the Linocut Registration Frame in a Press
While this device was designed for hand printing, it can also be used on a printing press, relief or intaglio, provided the frame fits on the bed of the press. If you have the standard device with a bench hook, you will need to saw off the front part of the base in line with the edge of the hinged frame. If you have bought the device modified for use on a press this will have been done already.
When printing on a press, the top plate or the roller, depending on your type of press, must press the paper onto the surface of the lino. The lino must be the highest area under the printing paper. To ensure this, we advise that you get a piece of mount board (mat board) the same size as the insert and put this into the registration device underneath the insert to raise the lino. Standard mount board is 1.4mm thick, the right height to get a nice clean impression while not putting pressure on the frame.
For hand printing you can use double sided tape to fix the lino to the insert. If you are using a printing press, the thickness of the tape is likely to show in your prints as a denser stripe of colour. Please use a thin, even layer of carpet or cork-tile adhesive instead.
Finally, if your press is a roller type intaglio press then there is a possibility that the paper may ‘creep’ over the surface of the block as the paper is wound through, slipping on the ink. To avoid this, we recommend that you tape both ends of the paper to the frame.